
 1")
You could be your own director with just your iPhone. You can record events that you find online and wish to share with others, or save them to watch later. And it comes with no cost, only the act of capturing it well, with both the screen on and the sound intact. I’ll show you how.
In this guide, you’ll learn:
- How to add Screen Recording to the Control Center.
- How to start and stop a recording from the Control Center.
- How to record with a microphone audio.
- Where your recordings are saved and how to trim them in Photos.
- Alternate start/stop methods and accessibility options.
- Key troubleshooting steps if recording fails.
Screen recording methods overview
| Method | What it does | Pros | Cons | Troubleshooting tips |
| How to add Screen Recording to Control Center | Enables one-tap access to screen recording from the Control Center. | • Quick setup, done only once• Easy to find in Control Center• No extra apps needed | • Requires initial setup• Some users may forget how to enable it again if removed | • If you don’t see the button, check under More Controls in Settings.• Restart your iPhone if Screen Recording doesn’t appear after adding it. |
| How to start a screen recording | Begins capturing your iPhone’s display with a 3-second countdown. | • Works system-wide• Countdown gives time to prepare• Shows a red indicator while recording | • May accidentally start recording when tapping too quickly• Can’t pause mid-recording (only stop) | • If recording won’t start, check if Screen Time restrictions are blocking it.• Close apps running in the background if the countdown freezes. |
| How to record audio with a microphone | Record your screen along with voice or external sounds via the mic. | • Captures narration, instructions, or environment sounds• Flexible on/off toggle before each session | • Can pick up unwanted background noise• Must remember to enable the mic before starting | • If audio isn’t saved, check microphone permissions in Settings > Privacy & Security > Microphone.• Hold down the button long enough to see the mic option. |
| How to stop a recording, locate the file, trim, and delete | It ends the session, saves the video, and lets you edit or delete it in Photos. | • Files saved automatically in Photos• Easy trimming with built-in editor• No extra apps needed | • Can’t merge clips in Photos (only trim)• Large recordings take up storage quickly | • If you can’t find your clip, check the Recents and Videos albums.• If trimming doesn’t save, ensure enough storage space is available. |
Let’s begin.
How to add Screen Recording to Control Center
- Open the Settings app.
- Scroll down and select Control Center.
 2")
- Toggle on Access Within Apps.
- Go back to Home, swipe down or up, tap on the blank (—) space, tap the Add button next to Screen Recording so it moves into Included Controls.
 3")
- You’ll now see Screen Recording inside the Control Center whenever you open it.
Note: Once you add Screen Recording, it stays in the Control Center until you remove it. You only need to set it up once.
How to start a screen recording
- Open the app or screen you want to capture and set it up how you want.
- Open Control Center:
- On iPhones with Face ID, swipe down from the top-right corner.
- On iPhones with a Home button, swipe up from the bottom edge.
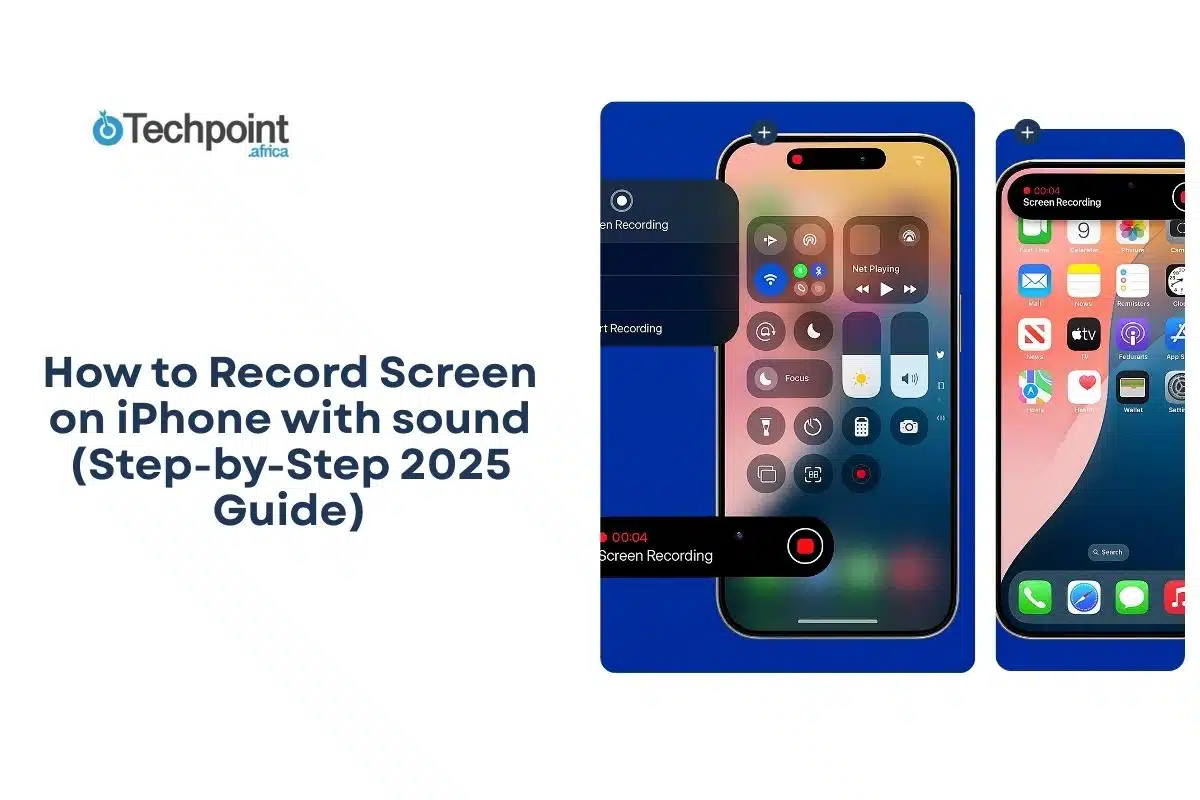
- Tap the Screen Recording button (a solid circle inside a ring).
 4")
- A four-second countdown will begin. Once it finishes, recording starts automatically.
While recording, you will see a red pill in the Dynamic Island or a red status bar at the top of your screen.
How to record audio with a microphone audio
- Open Control Center.
- Press and hold the Screen Recording button until more options appear.
- Tap the Microphone Audio icon to enable or disable sound recording.
- Tap Start Recording and wait for the countdown. Your voice or nearby sounds will be recorded along with the screen.
To stop the recording, use the same steps explained in the stop section below..
How to stop a recording, locate the file, trim, and delete
To stop recording, you should:
- Open Control Center and tap the Screen Recording button again,
OR
- Tap the red status indicator at the top of the screen and select Stop.
- Open the Photos app.
- Your recording will appear in Recents and also in the Videos album.
To trim your clip:
- Open the video, then tap Edit.
- Drag the yellow handles to adjust the start and end points.
- Tap Done, then choose Save Video or Save as New Clip.
- To delete a clip, open it in Photos and tap the Trash icon.
Alternate start/stop options and accessibility notes
Using the Control Center to start or stop a recording may not be the most convenient option. iPhones include extra tools that make the process easier and more controlled, especially if you need accessibility features or want to keep a recording focused on one app. Meet them:
Using AssistiveTouch for one-tap recording
If you prefer on-screen controls instead of pulling down Control Center every time, you can enable AssistiveTouch.
How to do it:
- Open the Settings app, choose Accessibility, and tap Touch. From the menu, select AssistiveTouch and turn it on.
- A floating button will now appear on your screen. Tap Customize Top Level Menu, then add Screen Recording to the list of shortcuts.
- Once this is set up, you can start or stop a recording with a single tap on the AssistiveTouch menu instead of swiping into Control Center. This is especially useful if reaching the top of the screen feels awkward.
Using Guided Access for focused recording sessions
Guided Access is another helpful feature when limiting activity to a single app. To enable it,
- Open Settings, select Accessibility, then scroll down to Guided Access and turn it on.
- When inside the app you want to record, press the Side button (or Home button on older devices) three times quickly. This activates Guided Access, and you can mark areas of the screen you do not want to respond to touch.
Guided Access keeps the session locked in place, which is valuable when making tutorials or avoiding accidental swipes, gestures, or app switching while the recording is running.
App or content restrictions
- Keep in mind that not all apps or media can be recorded. Some streaming services and video platforms block screen recording through digital rights management. If you try to capture content in one of these apps, the recording may appear as a black screen, or you may see an error message. This limitation is built into the apps and cannot be bypassed.
Both AssistiveTouch and Guided Access were initially designed to improve accessibility, but can also enhance screen recording convenience. If you frequently record content, combining these features gives you more control and minimizes mistakes.
How to troubleshoot common screen recording problems on iPhone
- If the screen Recording control is missing in Control Center
- Open the Settings app.
- Go to the Control Center.
- Check under Included Controls to see if Screen Recording is already listed.
- If not listed, scroll to More Controls and add Screen Recording by tapping the green plus sign.
- Once added, it should appear in the Control Center when you swipe down from the top right of the screen.
This step ensures you can access the feature anytime without going through settings.
- If the recording starts without sound
- Press and hold the Screen Recording button in the Control Center before starting.
- Make sure Microphone Audio is toggled on.
- Double-check that your iPhone’s mute switch is not activated.
- Increase the volume if it is too low.
These checks ensure your narration or external sounds are captured clearly.
- If recording won’t save to Photos
- Open Settings, General, and iPhone Storage to check available storage space.
- If storage is almost full, delete unused files, apps, or old videos to free up space.
- Ensure that access to Photos is granted when the system prompts it. Because without storage space or permission, your recording cannot be saved.
- If the recording stops unexpectedly
- Screen recordings may stop if interrupted by incoming calls or specific Focus modes.
- Turn on Do Not Disturb or a Focus mode that blocks interruptions.
- Restart the recording after confirming that no alerts will cut it off.
- Poor microphone audio quality
- Record in a quiet location to reduce background noise.
- Speak close to the iPhone’s microphone or use a wired or Bluetooth microphone.
- Test with a short practice recording to confirm sound quality before recording a more extended clip.
Tips for better screen recordings
Keep these in mind on your screen recording days:
- Turn on Do Not Disturb or Focus
- Enable Do Not Disturb or another Focus mode before you begin. This prevents notifications, calls, or alerts from appearing in the recording, keeping the final video clean and distraction-free.
- Close unnecessary background apps
- Swipe up from the bottom of the screen (or double-press the Home button on older models) and clear unused apps. Running too many apps can slow down performance, potentially causing lag or stuttering during recording.
- Lock your screen orientation
- Decide if the recording should be in portrait or landscape. Lock orientation in the Control Center before starting. This prevents the video from rotating midway, which saves time on editing later.
- Pay attention to microphone placement
- If you plan to narrate, make sure Microphone Audio is enabled. Hold the iPhone close enough or use a headset microphone. Good mic placement helps capture a clear voiceover without background noise.
- Trim recordings immediately
- After stopping a recording, open it in Photos. Tap Edit and trim out the countdown or any extra moments at the beginning and end. This keeps the final clip polished and ready to share.
Final takeaway
- Screen Recording is built into iOS and can be easily enabled via the Control Center.
- Long-press the control to include microphone audio when you need narration.
- Recordings are saved to Photos, allowing you to trim and share them from there.
- Add AssistiveTouch or use Guided Access for alternate controls or limited interaction.
- Check storage and toggle microphone settings if recordings fail.
Conclusion
Screen recording on iPhone is fast to set up and flexible enough for tutorials, bug reports, or capturing moments in apps. Add Screen Recording to Control Center once, then use the single tap (or long press to enable mic) to capture whatever you need. If anything goes wrong, the troubleshooting steps above cover the common fixes.
Try a quick test recording to ensure your audio and file location are set as you want.
Also Read;
How to delete text messages on iPhone for both sides (2025 guide)
I found the best fixes to stop random vibrations on your iPhone and Android
Frequently Asked Questions (FAQs) on iPhone Screen Recording
Where does my screen recording save?
- Recordings save automatically to the Photos app (check Recents or Videos).
Why is the Screen Recording button missing?
- It may not be added to the Control Center yet.
How do I add Screen Recording to the Control Center?
- Open Settings, Control Center, and tap the Add button next to Screen Recording.
How do I record my voice while screen recording?
- Long-press the Screen Recording button in the Control Center, turn on Microphone Audio, then start recording.
Can I record system audio without mic audio?
- The Screen Recording control captures device audio where allowed; toggle the microphone off to record only system audio when the app permits it.
Why isn’t my recording in Photos after I stop?
- Check available storage by heading to Settings, General, iPhone Storage, and ensure Photos can save new items.
How do I trim the start or end of a recording?
- Open the clip in Photos, tap Edit, drag the yellow handles, then tap Done and choose Save Video or Save as New Clip.
Can I screen record FaceTime or phone calls?
- Some calls and protected content may not be recordable due to privacy and copyright restrictions; watch for on-screen notices.
Will screen recording capture notifications?
- Yes, unless you enable a Focus mode (like Do Not Disturb) before recording to block notifications.
How do I improve the audio quality of the recording?
- Record in a quiet place or use an external microphone; test a short clip first.


 8")
 9")
 10")


