It’s wild how fast AI has moved from the lab to our laptops. One minute it’s a research topic, the next it’s writing articles, designing logos, and running customer support chats. What’s even more surprising is a lot of these tools weren’t built by engineers. They were made by writers, marketers, coaches, and people who saw a problem and used AI to solve it.
That gap between idea and product has shrunk. You no longer need to code, hire a developer, or understand machine learning to create something smart. The right tools are out there. And with a bit of direction, you can use them.
In this guide, you’ll learn what it really means to build an AI tool from scratch, what’s realistic for a non-technical person, and how to go from idea to working product using platforms that are designed for people like you.
Let’s get into it.
Understand what “from scratch” actually means
There are two main routes when people talk about creating something with AI. One is building your own AI model, that is training it on specific data to do something unique. The other is building an app that uses existing AI models (like GPT-4 or Claude) to perform a task. Most people confuse the two.
Building a model is technical. It requires data, computing power, and knowledge of machine learning. It’s doable, but not where most beginners start.
Building an app, on the other hand, is a lot more accessible. Think of it like putting together LEGO blocks, where you combine tools that already exist. Like using OpenAI’s language model, a no-code app builder, or maybe a Google Sheet to create something smart and functional.
So when we say “from scratch,” we don’t mean starting with math equations or neural nets. We mean starting with a blank screen and building something original using the resources available to you.
Before anything else, decide which direction you want to go whether it’s full-on model building, or building a tool powered by AI. In this article, our focus is on building a tool powered by AI.

How to create your own AI model or app from scratch
You don’t need to memorize algorithms or learn Python to build something powerful with AI. But you do need a plan. This section walks you through the real steps, not just the tools, but the thinking that goes into creating something people actually want to use.
1. Find a real problem
Before you even think about the AI part, you need a reason to build anything at all. That reason should be a real-world problem, something people struggle with, waste time on, or wish they could automate.
It doesn’t have to be a big or complex issue. In fact, the best ideas usually come from small, repetitive problems that fly under the radar. It could be rewriting customer emails, summarizing long documents, helping job seekers polish their resumes, or even generating content ideas for Instagram.
Just make sure it’s a problem you understand. Maybe you’ve faced it yourself. Maybe you’ve seen others complain about it online. Either way, you need to feel confident that solving it would make someone’s day easier.
To test your idea, ask:
- Is this task repetitive or time-consuming?
- Would solving this save time or money?
- Are people already hacking together solutions with spreadsheets, templates, or manual work?
Don’t overthink it. Look at your own workflow. Browse Reddit threads in your niche. Ask friends or colleagues what tasks they dread doing.
Once you’ve nailed the problem, you’ll be in a much better position to shape an AI solution around it.
2. Choose whether to train a model or build an app
Once you’ve pinpointed the problem, the next big decision is how you want to solve it. Broadly, there are two routes:
- Training your own AI model
- Building an app that uses existing AI models
Both have their place. The trick is understanding what each involves and what fits your skills, budget, and timeline.
Training your own AI model
Training your own AI model means building a system that learns directly from data you provide. Instead of relying solely on general AI services, you customize a model to perform specific tasks or understand niche language. This is particularly useful if your problem involves specialized content, like medical records, legal documents, or industry-specific jargon that off-the-shelf AI doesn’t handle well.
How would you do this? The process generally involves a few key steps:
- Gather data: Collect as much relevant data as possible that represents the problem you want the AI to solve.
- Clean and prepare the data: Make sure the data is accurate, well-formatted, and free of errors so the model can learn effectively.
- Train or fine-tune the model: Use a training platform to teach the AI to recognize patterns in your data and perform the desired task.
- Evaluate and improve: Test your model’s performance and tweak it until it meets your needs.
When this makes sense:
- You have unique or proprietary data that general AI models don’t handle well.
- You want an AI that understands a specialized language, industry terms, or formats.
- You’re ready to invest time in learning some technical skills or working with developers.
Pro tip: Start small. Even a fine-tuned chatbot that handles a handful of questions counts as building your own model. It’s a manageable way to get hands-on experience without getting overwhelmed.
Building an AI-powered app using existing models
Building an AI-powered app means you’re not creating a model yourself. Instead, you use existing AI models, like GPT-4and integrate them into an app or workflow that solves your problem. This approach is great if you want to create something functional fast, without diving into the complexities of AI training.
When this makes sense
- You want to build a functional AI tool quickly.
- You don’t have specialized data or need a general-purpose AI.
- You prefer focusing on user experience and problem-solving rather than deep tech.
How does it work? First, you design the app’s user flow: what information users input, how the AI processes that input, and what the app outputs back to the user. Then you connect different tools to handle each part of the process seamlessly.
This usually involves:
- Setting up a way to collect or manage data (like a spreadsheet or database)
- Using an AI service to process and analyze the data
- Building an app interface where users can interact with the AI
By combining these components, you create a smart app without needing to train your own model.
Which path should you choose?
Training your own model requires some technical skills. You need to be comfortable working with data, understand basic machine learning concepts, and be willing to learn how to use training platforms. It’s often done by developers, data scientists, or those ready to invest time into building technical expertise.
Building an AI-powered app, on the other hand, is much more accessible. It’s ideal for creators, entrepreneurs, and anyone who wants to solve problems quickly without heavy coding. You’ll focus on designing user experiences and connecting tools, rather than deep AI development.
Both paths have value. Training a model gives you customization and control but takes time and effort. Building an app lets you leverage powerful AI immediately, with less technical overhead. Knowing which path suits you helps you focus your energy and resources wisely. Next, let’s examine the specific tools and platforms that make these paths possible.
3. Set up your toolkit (you don’t need to code)
Whether you’re training your own model or building an app with existing ones, you’ll need the right tools. You don’t need to be a developer to get started. In fact, many of the most powerful tools today are built with beginners in mind.
No-Code Builders
These are what you’ll use to actually build the app users interact with. No design or coding experience? No problem.
- Glide: Turn Google Sheets into sleek mobile apps. Great for quick MVPs.
- Bubble: More flexible and powerful; ideal for web apps with custom logic.
- Adalo: Focused on mobile app development with a simple drag-and-drop editor.
- Softr: Build websites and client portals powered by Airtable or Google Sheets.
AI APIs
If you’re not training a model, these are your plug-and-play brains. You send them input, they return smart results.
- OpenAI: Powers tools like ChatGPT and offers robust language capabilities.
- Cohere: Specializes in natural language tasks with high performance.
- Hugging Face APIs: Offers access to a wide library of community and open-source models.
Automation & Backend Tools
These tools help glue everything together, especially when you need different apps to talk to each other, or you want to trigger actions behind the scenes.
- Zapier: Create automated workflows without writing code.
- Make.com: Similar to Zapier, but offers more flexibility and complex workflows.
- Pipedream: A great choice if you want to mix code and no-code workflows.
Data Layers
Your app needs somewhere to store or pull data from. These tools act as lightweight databases and they’re all friendly to non-tech users.
- Google Sheets: Familiar, flexible, and integrates with just about everything.
- Airtable: Combines the simplicity of a spreadsheet with the power of a database.
- Notion: Great for managing structured content and documentation.
Everything you build, the app, the logic, the automation can be stitched together using simple connectors. Most of these platforms integrate natively, or you can bridge them with Zapier or Make. The result will be an AI-powered tool, built from scratch, without needing to write much (or any) code.
Next, let’s talk about actually building and testing your first version: the Minimum Viable Product.
4. Build a simple MVP (Minimum Viable Product)
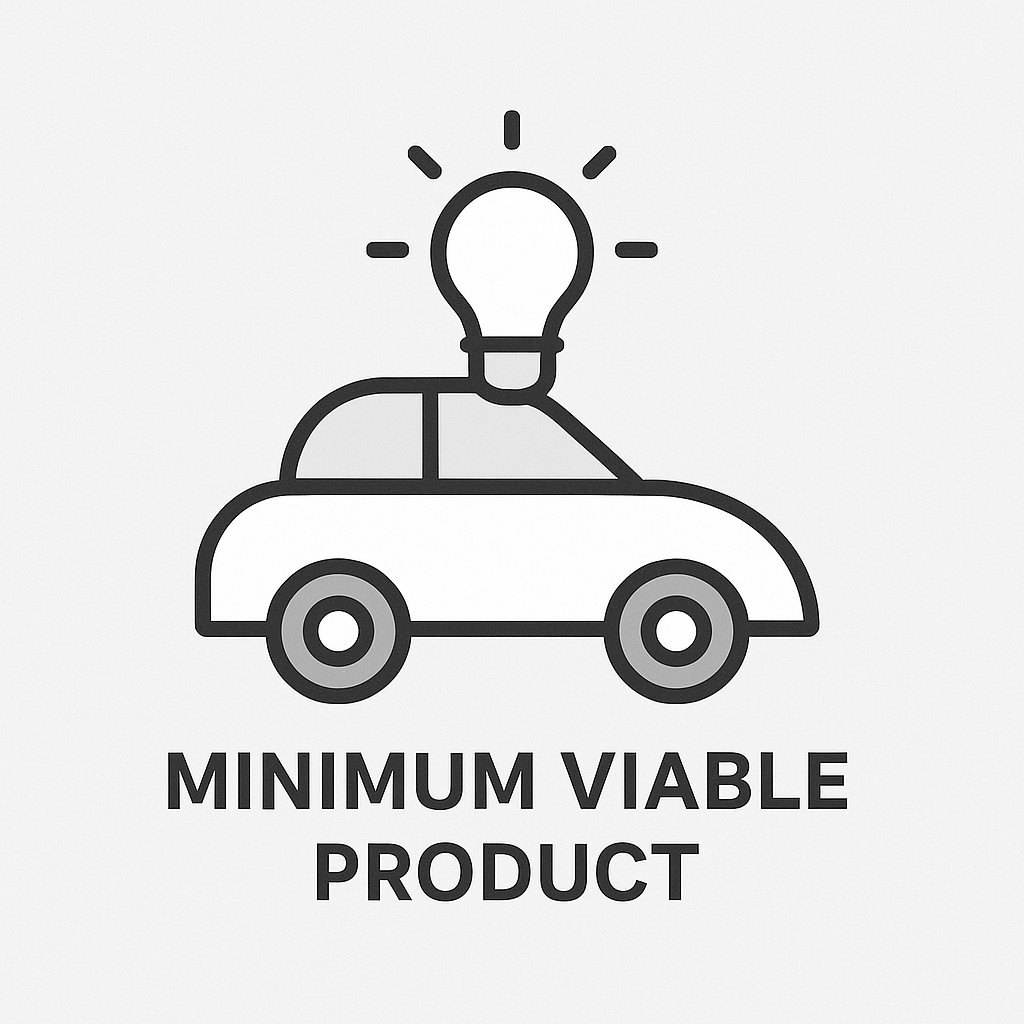
An MVP (Minimum Viable Product) is a basic version of your app or model that does just enough to be useful, nothing more, nothing less. It’s not meant to be perfect. It’s meant to help you learn fast, test your assumptions, and gather real feedback before you invest more time and energy.
- Start with the Core Feature: What’s the one thing your AI needs to do really well? Focus there first. If you’re training a model, get it to perform one narrow task, like answering FAQs or summarizing short documents. If you’re building an app, wire up just the core flow, for instance, a text input, AI response, and a display output.
- Run Small Tests: Once the MVP is live (even if it’s just on your laptop or private app view), use it yourself. Then share it with a few trusted people and watch how they interact with it. Their feedback will tell you where it works and doesn’t.
- Refine Based on Feedback: Once you see how people use it, you’ll know what to adjust. Maybe the input field isn’t clear. Maybe the AI output needs tighter guardrails. Maybe the whole app needs to be restructured, and that’s okay.
The goal here is not to get it right the first time. It’s to build something small, learn from it, and improve quickly.
5. Customize the brain: Prompt engineering basics

Prompt engineering is the art of telling your AI exactly what you want it to do. A vague prompt gets vague results and a clear one helps you achieve what you want.
For example, instead of saying:
“Summarize this article,”
You’d say:
“Summarize this article in 3 bullet points using simple language for a 10-year-old.”
Small changes like that completely shift the tone and output.
Tips to get it right:
- Be clear and specific.
- Ask for a format (e.g., bullet points, tables).
- Set a role: “You’re a helpful coach…”
- Give examples if needed.
- Test, tweak, repeat.
You don’t need to retrain a model or code custom features. A strong prompt often does the heavy lifting. If you’re building with GPT, this is how you shape the AI’s behavior with no code, just smart instructions.
6. Test, Break, Improve
Once your AI model or app is live, it’s time to poke holes in it on purpose. Why? Because testing reveals what works and what breaks under real-world use.
Start with edge cases: weird inputs, unexpected questions, or messy data. If you built a chatbot, try giving it vague prompts. If it’s a document tool, feed it a poorly formatted file. See how it holds up.
Don’t rely only on your own perspective. Bring in users, even just a few.
Here’s the cycle:
- Test: Regularly and with fresh eyes.
- Break: Push it until it fails.
- Improve: Use what you learn to refine prompts, workflows, or UI.
Iteration is your best friend. You don’t need perfection, just consistent progress. Every bug fixed or prompt improved brings you closer to a smart, reliable product.
7. Scaling, Monetization & Polishing
Once your AI app or model is working and people find it useful, it’s time to level up. Start by refining the experience: tighten the prompts, improve the interface, and smooth out rough edges. The goal is to make it feel reliable, fast, and easy to use.
Now think bigger:
- Scaling means preparing for more users. That could mean moving your backend from Google Sheets to a real database, or optimizing your automations so they don’t break under pressure.
- Monetization depends on your value. Offer subscriptions, charge per use, or integrate with platforms like Gumroad, Stripe, or Memberstack.
- Polish isn’t about flashy design. It’s about clarity. Clean layouts, intuitive navigation, and fast load times go a long way.
At this point, you’ve gone from idea to real-world AI product. Whether it’s a tool for your audience or the start of a business, you’ve built something that works and that’s powerful.

Final thoughts
If there’s one thing to take away, it’s this: building with AI isn’t reserved for engineers in lab coats. The tools are here, the barriers are lower, and what matters most is your ability to solve a real problem in a smart, usable way.
You won’t get everything right the first time. That’s fine. The people building great AI tools aren’t doing it in one perfect sprint; they’re shipping messy drafts, testing like crazy, and improving as they go.
So don’t wait for the “right time” or a massive skill upgrade. You already have what you need to start.
Build something small. Learn a ton. Then go from there.

